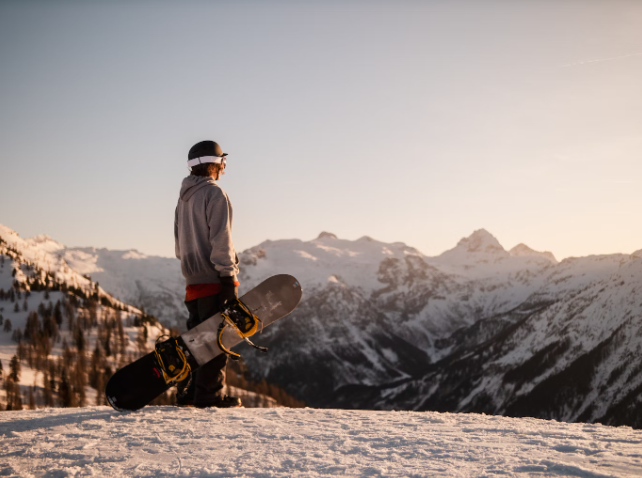
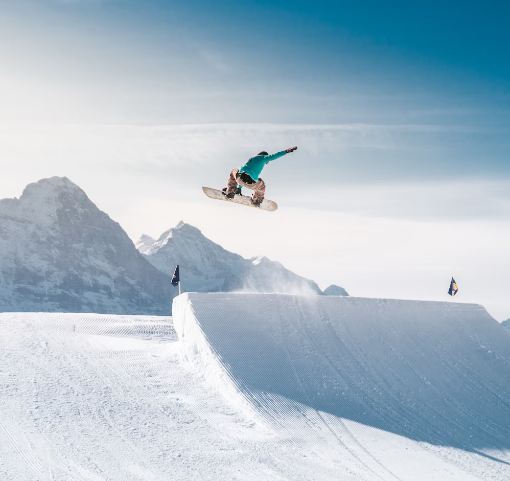
For many snowboarders, linking smooth and precise carving turns is the ultimate sign of mastery on the slopes. Carving turns involve using the edge of the snowboard to slice cleanly through the snow, without skidding or pivoting the back of the board. Learning proper carving technique can help snowboarders of all levels ride with more control and finesse. This article will provide key tips and advice for mastering the art of the carve turn.
Proper Stance and Balance
The foundation for precise carving is having the proper stance and balance over the board. Maintaining balance over the edges allows you to roll the board from edge to edge smoothly. Set up with a relatively narrow stance, knees bent and centered over the board. Keep your shoulders aligned with the board and avoid counter-rotation of your upper and lower body. Your weight should be evenly distributed between both feet.
| Tip | Description |
|---|---|
| Narrow Stance | Keep feet close together for better edge control |
| Bend Knees | Flexed knees help absorb bumps and maintain balance |
| Align Shoulders | Avoid twisting upper and lower body |
| Even Weight | Distribute weight evenly over both feet |
Engage Your Edges
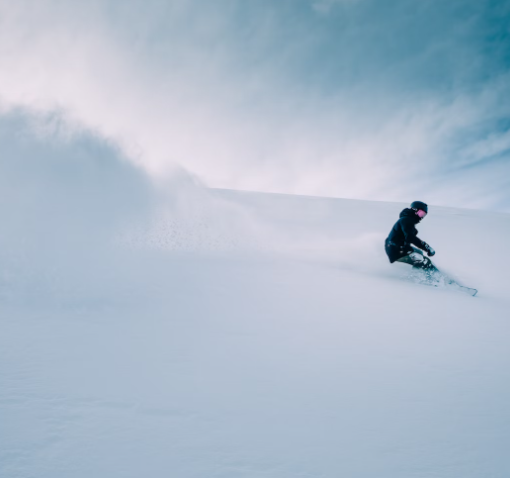
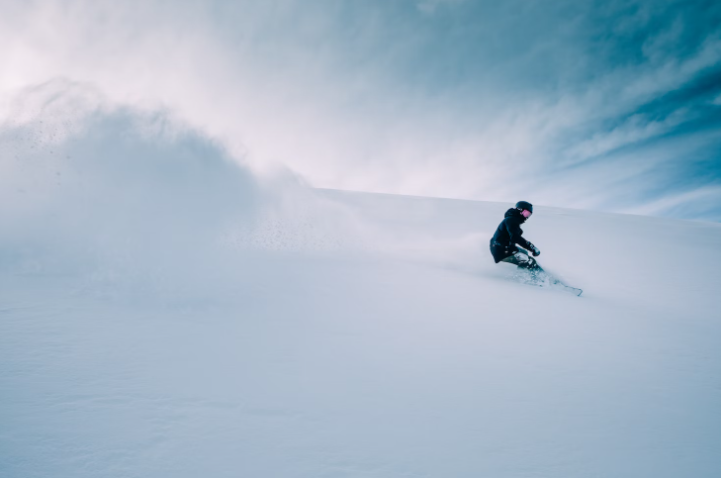
The key to initiating and maintaining a carve turn is engaging the edge of the board into the snow. This is done by rolling both your ankles and knees to put pressure onto your toes and heels. Focus on pressing down through your big toe and little toe to engage the toeside and heelside edge, respectively. The amount of edge pressure controls the size of the arc, so experiment with subtler and more aggressive edging. Keep your weight stacked over your working edge throughout the turn.
Control Your Speed
Entering a carving turn with proper speed helps the board hold its edge as it arcs through the fall line. Too much speed, however, can cause you to lose control. Manage your speed by checking your speed before initiating the turn, then regulating it with turn shape. Larger, more aggressive arcs help bleed speed, while smaller arcs around bumps or rollers can maintain it. Allow your equipment to do the work by relying on your edges.
Utilise the Sidecut
The unique shape of your snowboard’s sidecut is key for carving. The dramatic inward curve underfoot helps the board change edges smoothly. Shift your weight from your heelside to toeside edge to allow the sidecut to guide you through the fall line. Applying pressure to the engaged edge will let the sidecut do the steering for you.
Link Your Turns
Once you have mastered carving on one edge, it’s time to link turns together. Look ahead to plan your line and time your edge changes. As you complete a heelside turn, transition your weight to your toes as you point your board across the hill. Then engage your toe edge to carve a toeside arc. Focus on keeping your upper body quiet and centered over the board.
Vary Your Turn Shape
Carving opens up a variety of turn shapes from wide, arching turns to tighter radius turns. Play around with turn size, intensity and duration. For a longer, more sweeping carve, engage the edge early and ride it out. For quicker, snappier turns, apply edge pressure later and release earlier. Lengthen or shorten your turns to match changes in terrain or speed.
Mastering carved turns takes time and practice. Be patient with yourself as you develop the necessary muscle memory and feel for engaging your edges. It is helpful to practice on groomed runs before taking carving to more advanced terrain. Finding the right snow conditions can also make learning easier. Smooth, consistent snow is best for beginners. Avoid overly icy or rutted areas. With the proper foundation and techniques, carving mastery is within your reach.
In closing, carving turns are one of the best ways to finesse your snowboarding technique. With practice and mileage focused on proper edging and balance, you’ll be laying trenches and tearing up the corduroy in no time. Master the fundamentals of the carved turn, and you’ll take your riding to the next level.